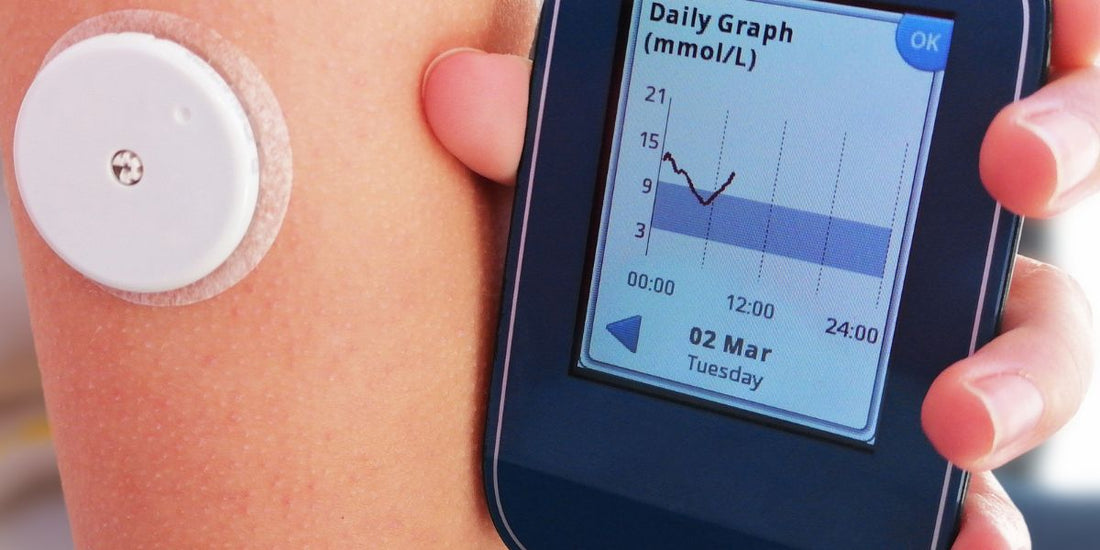
DIY Tips to Enhance the Durability of Your CGM Sensor Patch
Share
Hey there, glucose warriors! 🎯 If you're rocking a CGM (Continuous Glucose Monitoring) sensor patch, you already know it's a game-changer for managing your blood sugar levels. But let's be real—these little lifesavers aren't cheap, and peeling edges or loose adhesives can feel like a personal betrayal. 😤
Fear not! We’ve got your back with some DIY tips to boost the durability of your CGM sensor patch. Because let’s face it, you’ve got better things to spend your money on than replacing sensors every other day (hello, avocado toast and overpriced coffee). ☕🥑
1. Prep Your Skin Like a Pro
Before slapping on that sensor, your skin needs some TLC. Think of it as prepping a canvas for a masterpiece—except the masterpiece is your CGM patch staying put for its entire lifespan.
-
Clean It Up: Use an alcohol wipe to remove oils, sweat, and leftover pizza grease (no judgment). Clean skin = better adhesion.
-
Shave the Spot: If you’re hairy like a yeti, shave the area where you’re placing the sensor. Hair = enemy of sticky patches.
-
Dry It Out: Let the area air dry completely. No shortcuts here—patience is key. 🕰️
2. Adhesive Overload (But in a Good Way)
The adhesive on your CGM patch might need a little backup. Enter: overlay patches or skin tac wipes. These bad boys are like bodyguards for your sensor.
-
Overlay Patches: These are like armor for your sensor. Brands like Lexcam or Simpatch make patches specifically for CGMs. Slap one on top of your sensor, and boom—extra durability.
-
Skin Tac Wipes: These wipes create a super-sticky surface for your sensor to cling to. Think of it as double-sided tape for your skin. 🎯
3. Location, Location, Location
Where you place your sensor matters more than you think. Avoid areas that get a lot of friction (like where your waistband rubs) or movement (like your bicep if you’re constantly flexing 💪).
-
Pro Tip: Try the back of your arm or your lower abdomen. These spots are less likely to get knocked around during your daily hustle.
4. Waterproof It Like a Boss
Water is the arch-nemesis of adhesives. But let’s be real—you’re not giving up showers or pool parties. Here’s how to keep your sensor intact:
-
Tegaderm Film: This waterproof film is like a force field for your sensor. Apply it over your patch, and you’re good to go—rain, sweat, or shower steam won’t stand a chance.
-
AquaGuard Patches: These are specifically designed to protect CGM sensors from water. Perfect for those who live in the pool or just really love long showers. 🚿
5. Avoid the Peel Monster
Peeling edges are the worst. But with a little DIY magic, you can keep your patch looking fresh.
-
Medical Tape: If the edges start to lift, secure them with medical tape. It’s cheap, effective, and way less annoying than a flapping sensor.
-
Nail Polish Trick: Dab a tiny bit of clear nail polish on the edges of your patch to seal them. Just make sure it’s completely dry before you move around. 💅
6. Keep It Cool (Literally)
Heat and humidity can mess with your sensor’s adhesive. If you’re living in a sauna (looking at you, Brisbane and Darwin), try these tips:
-
Cooling Sprays: Use a cooling spray to keep your skin dry and cool before applying the sensor.
-
Avoid Direct Sunlight: Don’t leave your sensor exposed to direct sunlight for too long. It’s not a fan of sunbathing. 🌞
7. Rotate Your Spots
Using the same spot over and over can lead to skin irritation and weaker adhesion. Rotate your sensor placement to give your skin a break and keep things fresh.
-
Pro Tip: Keep a log of where you’ve placed your sensor to avoid repeating spots too soon. Your skin will thank you. 🙏
8. When All Else Fails, Channel Your Inner MacGyver
Sometimes, life throws curveballs, and your sensor starts to rebel. When that happens, get creative:
-
Duct Tape: Yes, really. A small piece of duct tape can save your sensor in a pinch. Just make sure it’s not too tight or uncomfortable.
-
Band-Aid Hack: Use a large band-aid to secure your sensor if it starts to lift. It’s not pretty, but it works. 🤷♀️
Final Thoughts
Your CGM sensor patch is your partner in crime for managing your glucose levels, so keeping it secure is a no-brainer. With these DIY hacks, you can extend its life, save some cash, and avoid the frustration of a patch that just won’t stick.
Remember, you’re not just managing diabetes—you’re out here thriving, one sticky patch at a time. Now go forth and conquer, you adhesive wizard! 🧙♂️✨
Got your own CGM sensor hacks? Share them in the comments below! Let’s help each other out (and maybe have a laugh while we’re at it). 😄👇
P.S. If you’re in Australia and looking for reliable CGM sensor patches, check out our top picks here. We’ve got your back (and your arm, and your abdomen). 🇦🇺
