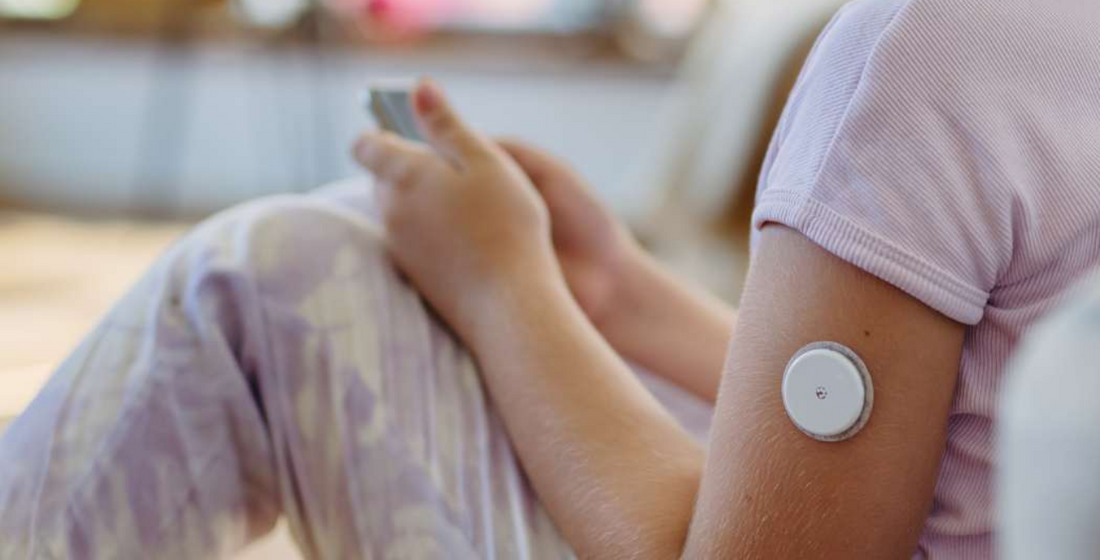
How to Safely Remove CGM Sensor Patches Without Damaging the Sensor: A No Sugar Wear Guide
Share
Let’s talk about something we don’t often think about until it’s time to do it: removing your CGM sensor patch. Whether you’re switching out your sensor or just need to adjust its placement, removing it the wrong way can lead to damaged skin, a ruined sensor, or even unnecessary pain. Ouch. 😬
At No Sugar Wear, we’re all about making your life easier—and that includes helping you safely remove your CGM sensor patches without a hitch. In this guide, we’ll walk you through the step-by-step process to remove your patch like a pro, keeping your skin and sensor intact. Let’s get into it! 🛠️
Why Proper Removal Matters
Before we dive into the how-to, let’s talk about why it’s so important to remove your CGM sensor patch correctly:
-
Protect Your Skin: Yanking off a patch can cause irritation, redness, or even small tears in your skin. Ouch again.
-
Save Your Sensor: If you’re reusing a sensor (like with some CGM systems), improper removal can damage it, leading to costly replacements.
-
Avoid Pain: Let’s be real—no one wants to feel like they’re ripping off a Band-Aid every time they change their sensor.
With the right technique and a little patience, you can avoid all of the above. Let’s break it down. 👇
Step 1: Gather Your Supplies
Before you start, make sure you have everything you need:
-
Adhesive Remover Wipes: These are a game-changer for gently loosening the adhesive. (We recommend keeping a pack of No Sugar Wear Adhesive Remover Wipes on hand—they’re gentle and effective.)
-
Warm Water: A warm shower or damp cloth can help soften the adhesive.
-
Tweezers or a Credit Card: For gently lifting the edges of the patch.
-
Moisturizer: To soothe your skin after removal.
Step 2: Soften the Adhesive
The key to pain-free removal is softening the adhesive. Here’s how:
-
Use Adhesive Remover Wipes: Gently rub a No Sugar Wear Adhesive Remover Wipe around the edges of the patch. Let it sit for a minute to break down the adhesive.
-
Warm Water Trick: If you don’t have adhesive remover, take a warm shower or apply a warm, damp cloth to the patch for a few minutes. This will help loosen the adhesive.
Step 3: Lift the Edges
Once the adhesive is softened, it’s time to start lifting the patch:
-
Use Tweezers or a Credit Card: Gently slide the edge of a credit card or tweezers under one corner of the patch. Be careful not to pull too hard—slow and steady wins the race.
-
Work Your Way Around: Gradually lift the edges of the patch, moving in small sections. If you feel resistance, stop and apply more adhesive remover or warm water.
Step 4: Remove the Patch
With the edges lifted, you’re ready to remove the patch:
-
Pull Slowly and Gently: Pull the patch back (not up) in the direction of your skin. This minimizes discomfort and reduces the risk of damaging your skin or sensor.
-
If It Sticks, Stop: If the patch isn’t coming off easily, don’t force it. Apply more adhesive remover or warm water and try again.
Step 5: Clean and Soothe Your Skin
Once the patch is off, give your skin some TLC:
-
Clean the Area: Use an alcohol wipe to remove any leftover adhesive residue.
-
Moisturize: Apply a gentle, fragrance-free moisturizer to soothe your skin and prevent dryness or irritation.
Step 6: Check Your Sensor
If you’re reusing your sensor, take a moment to inspect it:
-
Look for Damage: Check for any signs of wear or damage. If it looks good, you’re ready to reapply it with a fresh No Sugar Wear patch.
-
Clean the Sensor: Use an alcohol wipe to clean the sensor before reapplying it.
Pro Tips for Pain-Free Removal
-
Don’t Rush: Take your time. Rushing can lead to skin damage or a ruined sensor.
-
Avoid Harsh Products: Stick to gentle adhesive removers like No Sugar Wear Adhesive Remover Wipes. Harsh chemicals can irritate your skin.
-
Rotate Your Placement: To avoid skin irritation, rotate where you place your sensor each time you change it.
What Not to Do
-
Don’t Rip It Off: Yanking the patch off can damage your skin and sensor. Always soften the adhesive first.
-
Don’t Use Sharp Objects: Avoid using knives, scissors, or anything sharp to remove the patch. You could accidentally cut yourself or damage the sensor.
-
Don’t Skip Moisturizing: Skipping this step can lead to dry, irritated skin over time.
Final Thoughts
Removing your CGM sensor patch doesn’t have to be a painful or stressful experience. With the right tools, techniques, and a little patience, you can safely remove your patch without damaging your skin or sensor. And with No Sugar Wear products, you’ve got everything you need to make the process as smooth as possible. 🌟
Ready to make sensor removal a breeze? Check out our range of adhesive removers and patches at No Sugar Wear. Your skin (and sensor) will thank you! 🇦🇺✨
P.S. Got your own tips for safely removing CGM sensor patches? Share them in the comments below! Let’s help each other out and make diabetes management a little easier.
